Digitisation#
Digitisation is the process of converting geographic data from maps or images into digital form commonly represented as vector data. During this procedure, spatial information from maps or images is traced, forming points, polylines, or polygons. To digitize data for a new dataset you always have to start with creating the dataset before filling it with digitized data.
Create a new layer#
Layer–>Create Layer->New GeoPackage LayerorNew Shapefile LayerClick on
 and navigate to the folder where you want to save the dataset.
File encoding: Make sure this is set to UTF-8Geometry type: Select the type of feature you want to digitalise e.g. points, lines or polygones.Under
Additional dimensionyou should always make sure that you checkNone.Select the coordinate system you want to set for the new layer. By default, the QGIS selects the project CRS. If you want to change the CRS click on
 .
.Under
New Fieldyou can add columns to the new layer.Type: Select the data type the column will have e.g.Text,Whole number,Decimal Number,Date.Click on
 to add the new column to the
 Fields List.
Click
OK.
Add geometries to a layer#
Creation of point data#
To digitalise points, first you need an existing point layer or you need to create one (check out Digital Data Creation above).
Select the point layer you want to add data to in the Layer panel
Go to the digitalisation toolbar and click on
 . No the layer is in the editing mode.
Click on
 .
.Left-click on the feature you want to digitalise.
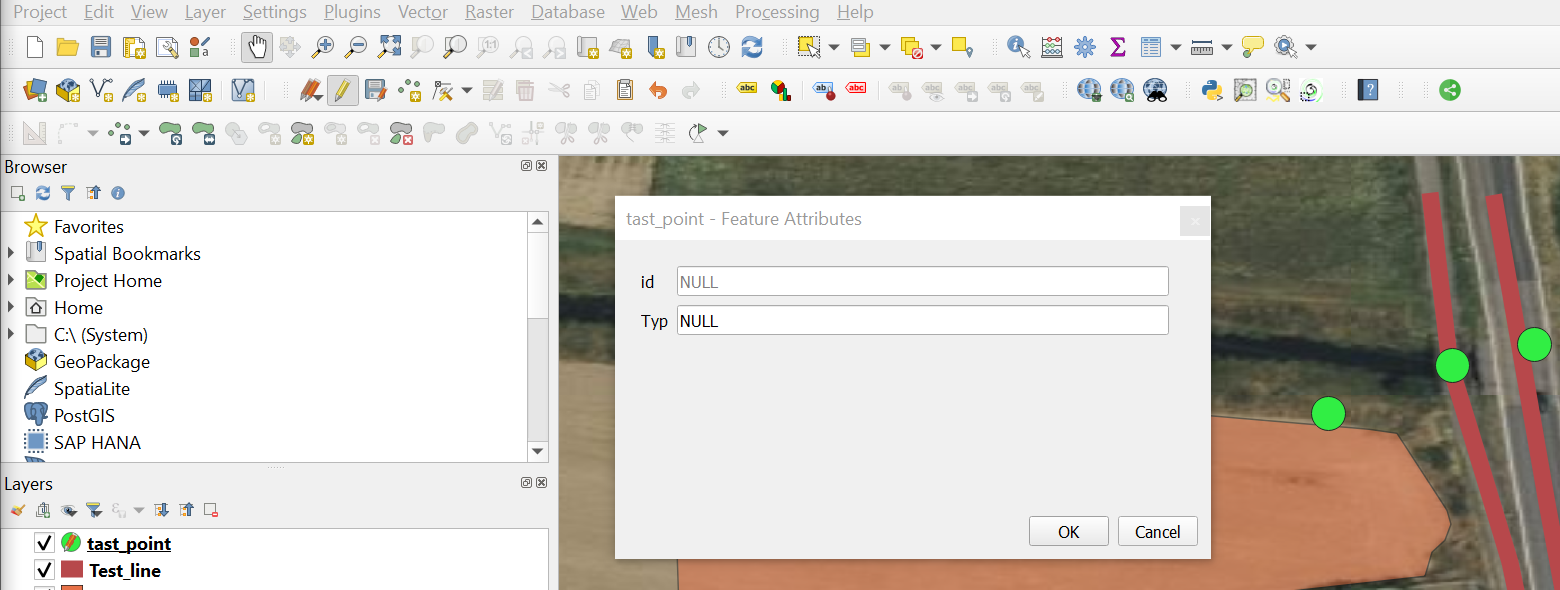
Once you click, a window will appear
[Your Layer Name]- Feature Attribute. Here you can add the information about this feature to the different columns, based on the attribute table of the layer.Once you are done with digitalisation
 to save your edits.
Click again on
to end the editing mode.
Creation of line data#
The method is similar to digitising a point (see above). First you have to created a new line layer or use an existing one.
Attention
If you create a new line layer remember to change the geometry type into lines because we are creating lines data now.
Select the line layer you want to add data to in the Layer panel
Go to the digitalisation toolbar and click on
. No the layer is in the editing mode.Click on
 .
.To digitalise line features, click along the line. When you are done, right-click on the last point of the line to finish the feature.
Once you click, a window will appear
[Your Layer Name]- Feature Attribute. Here you can add the information about this feature to the different columns, based on the attribute table of the layer.Once you are done with digitalisation
to save your edits.Click again on
to end the editing mode.
Creation of polygon data#
Open a new
polygone layer.Clicking on
start edit modeand Add Feature:Capture Polygone |.
|.Draw geometries and enter
feature attributes, like id and name.Save edits
, exit edit mode.
Modify existing geometries in the layer#
Clicking on
start edit mode.Move verticesandadd new vertices.Save edits
, exit edit mode.
Adding Ring to existing polygon layer#
Clicking on
start edit mode.Add Feature:
Add Ring (e.g. map the inner courtyard of a building, or - as shown in the video - create a cercle to mark an isle in the lake).
To open the
Advanced Digitizing Toolbargo toView > Toolboxes > Advanced Digitizing Toolbar.To add rectangles ‘automatically’ go to
View > Toolbars > Shape Digitizing Toolbar.
Further resources#
The YouTube Video below shows the whole process of digitizing polygons in QGIS in some more detail. Note that the YouTuber is using an older version of QGIS, so things might be different in your version.